
Lanterns & Skylights:
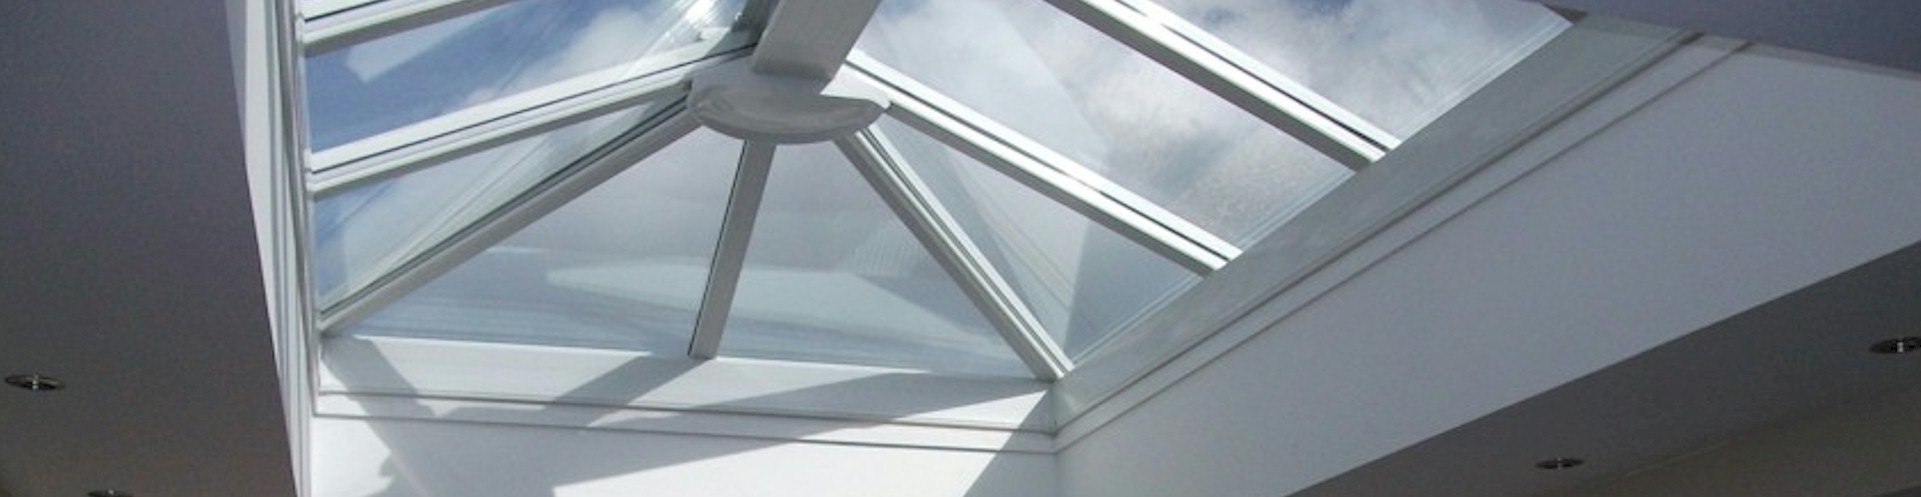
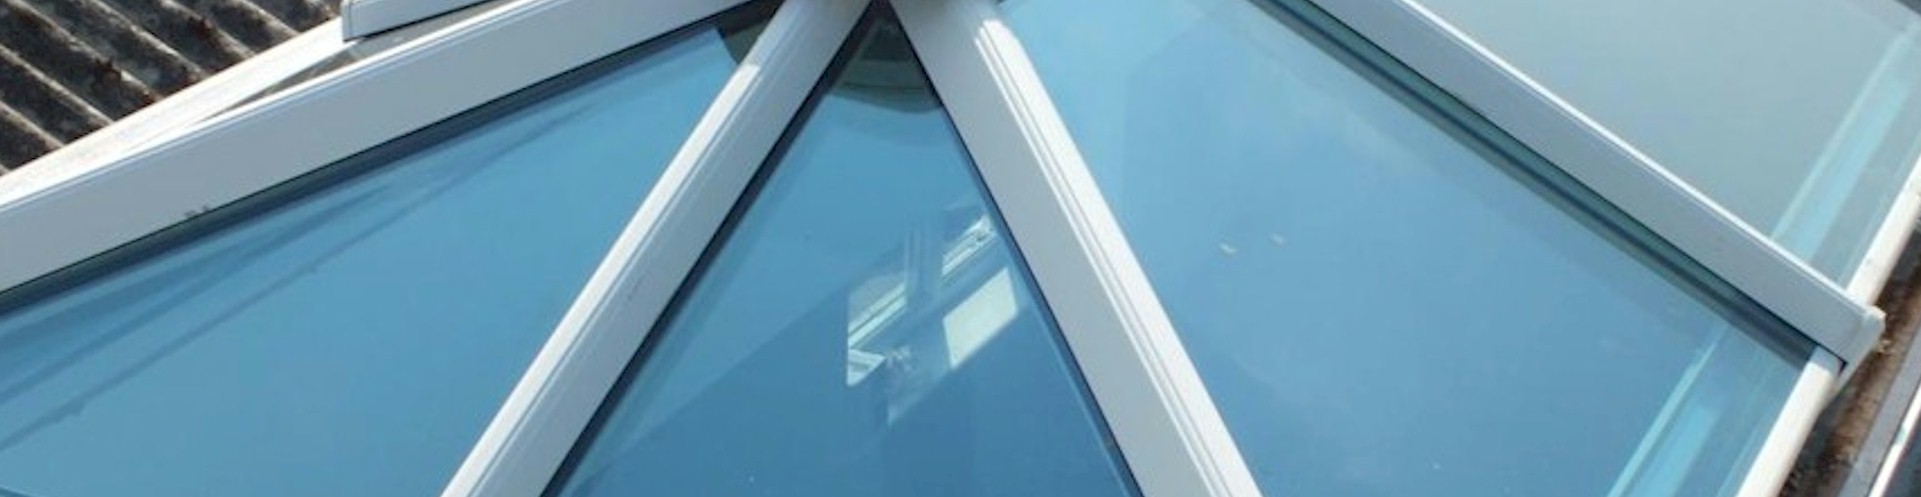
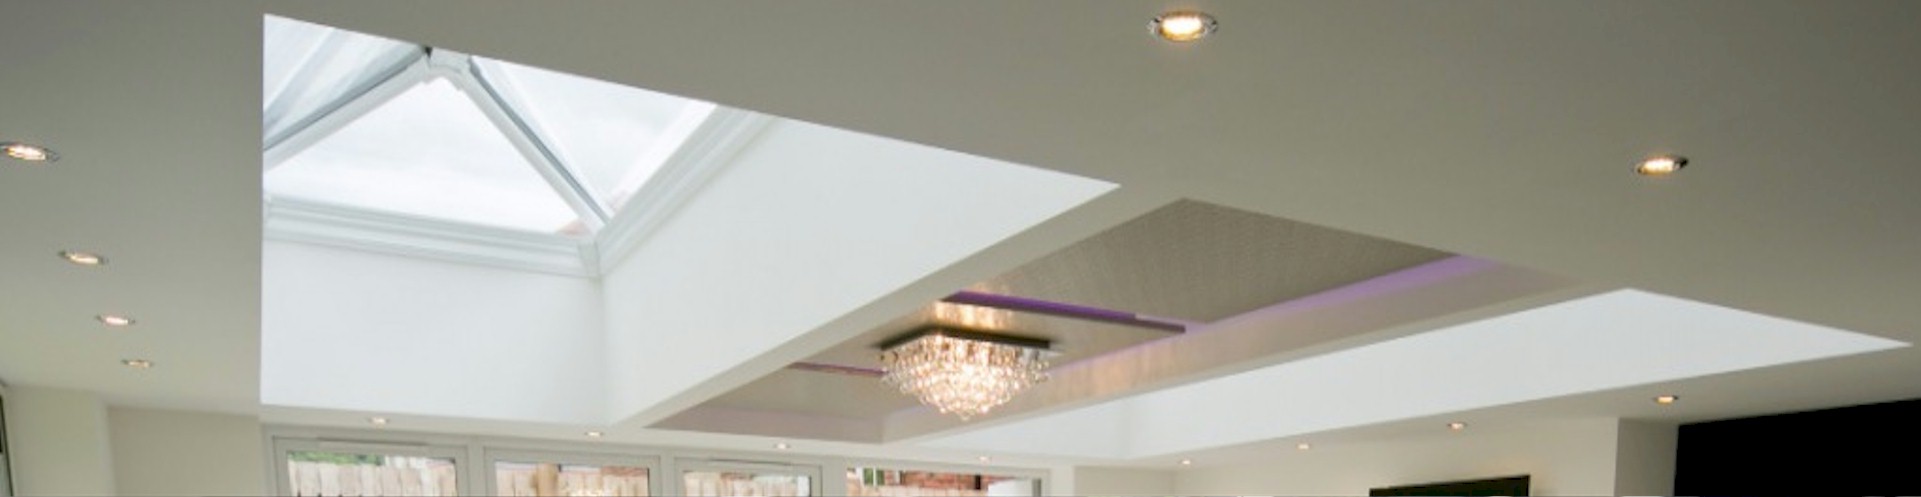
A roof lantern or roof light is the perfect choice for letting in natural light into your home. Master Plastics roof lights and roof lanterns can be incorporated into a new build or an existing extension of a house, or anywhere you have a flat roof. The high tech glass helps the roof lantern to reduce both heat loss and noise. They give the ultimate feeling of space & light and will completely transform your living areas. Available in a Choice of White, Rosewood or Light Oak and supplied with either 25mm polycarbonate or an optional low e glass roof and sides. Master Plastics Sky Lights and Roof Lanterns are made from the Global roof system which is superiorly engineered to the highest strength and security standards.
Profiles - The structural components are made out of light weight aluminium and designed to withstand all weather conditions including heavy snow loads. PVCu capping is then fitted over the aluminium bars to leave you a clean sharp finish. They come in a choice of White, Rosewood, Mahogany or Light Oak. Aluminium top caps come as standard on the wood grain foiled profiles.
Our Sky Light and Roof Lanterns can be supplied with 25mm or 35mm polycarbonate which is available in Clear, Bronze, Opal or Heat Shield. Or you can choose between Low E Argon Filled Toughened Glass or the superior self cleaning glass. You can choose optional opening windows and roof vents for each of our lanterns and Sky Lights. Either vent can be operated by an electronic chain opener. (Optional) the vent will be supplied with 1m of cable which will need to installed by a qualified electrician into a 2 way rocker switch.
Product Details:
Home Delivery: Yes
Colours: Various
Material: UPVC
Category: Lanterns & Skylights