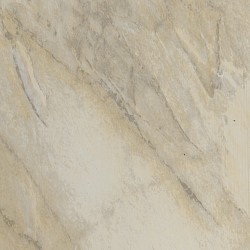


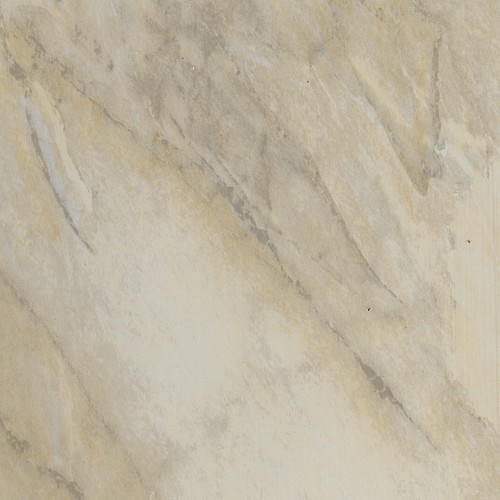
Pergamon Wall Panel 5mm (4 Pack)
- Brand: Swish Roomliner
- Product Code: RM1009
- Availability: In Stock
Room Liner can withstand temperatures up to 60ºC. It can be fitted behind hot water pipes and radiators and a gas or electric hob if a piece of heat-resistant glass is installed between the product and the hob using 10mm spacers and mirror screws.
Where Room Liner can be fitted?
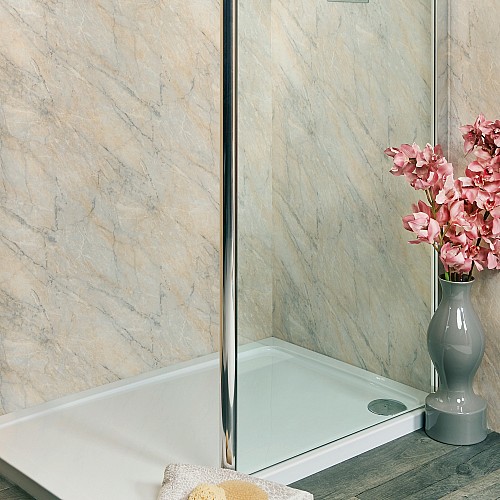
To the walls and ceiling of any room in the house, office, factory or food preparation area. Includes shower cubicles with power shower up to a maximum of 60ºC.
To dampen or damage walls by fitting 38mm x 19mm battens horizontally at 600mm centres with screws into wall plugs and, if required, a breather membrane.
To a wall or ceiling with a clean, flat surface using adhesive (no battening required).
For a wall or ceiling with ceramic tiles, use a moisture-cure or solvent-free adhesive (the tiles do not have to be removed).
Steam Rooms – Not for use in Steam Rooms where hot spot temperatures may exceed 60ºC. Direct contact with the steam from kettles or pans must be avoided.
Installation Process
Boards fitted to flat, dry walls and ceilings
Select and fit trims required (see section below). All trims should be secured with 4mm countersunk screws.
Select the first board, remove the tongue on the left of the board, and cut to length. Remember, if the last board in the run is on a feature corner, you could remove more of the first board to finish with the complete board.
Painted surfaces should be suitably keyed before applying any adhesive.
Starting from the left, fit the board into the trim using a spirit level to ensure the board is vertical.
Make sure the board is securely bonded to the wall.
Mitre the front face of ceiling trims where necessary.
When fixing to tiled walls, a moisture-cure silicone or solvent-free adhesive should be applied.
Boards fitted to Damp or Damaged Walls
Secure a breather membrane to the walls.
Fit wooden battens (38mm x 19mm) to the wall, horizontally at 400mm centres and vertically at all intersections, corners, and abutments to support finished ends.
Secure the trims to the battens with 4mm countersunk screws or 12mm staples at 400mm centres.
Select the first board, remove the tongue on the left of the board, and cut to length. Remember, if the last board in the run is on a feature corner, you could remove more of the first board to finish with a complete board.
Secure each board with countersunk screws or 12mm staples.
Mitre the front face of ceiling trims where necessary.
Installation Notes
On corners, either use a corner trim or slit the back face of the board and bend around the angle. Firmly secure the bent board and previous board using screws.
Do not mount load-bearing accessories, such as grab handles, directly onto Marbrex panels. When mounting accessories on the wall, cover the board's depth with wood or other suitable spacers and seal with silicone.
In a shower area, apply a narrow silicone bead to the face of the right-hand flange to ensure complete protection against moisture.
Run a silicone bead around the edge of a bath or shower tray. Fit the ends of the boards down onto the bead to seal.
Cleaning
Apply a non-abrasive household cleaner (the solution may contain bleach) with a soft cloth or sponge. Do not use neat bleach. Rinse with water.
Performance
Room liner achieves a Class 1 fire rating and conforms to the requirements of the Food Safety Act 1990 and General Hygiene Regulations 1995