Step by Step Installation Guide - Fitting Guttering to a Shed

Step by Step Installation Guide - Fitting Guttering to a Shed
Download “The Gutter Shed Installation Guide”
View The Shed Gutter Pack
View Mini Guttering
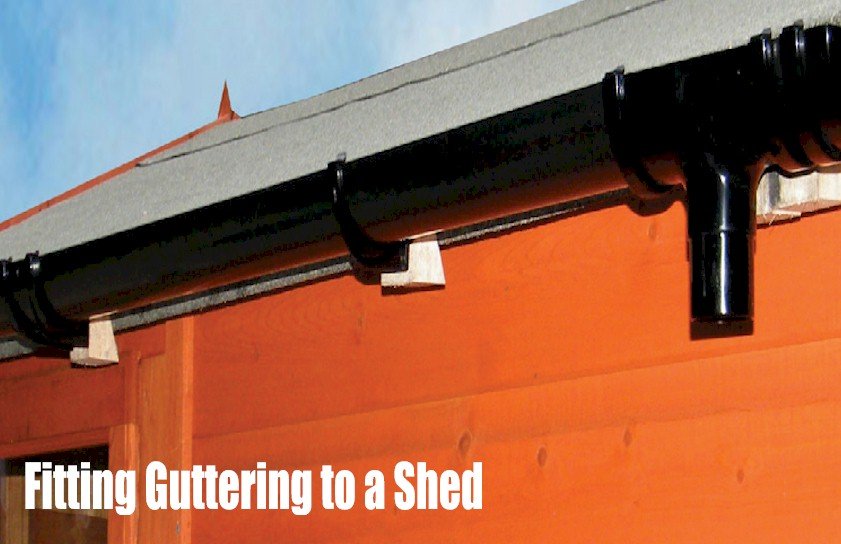
1 Establish the position of the running outlet and fix the wooden block to the shed. (Wooden blocks are angled dependant on the pitch of your shed roof).
2 Fix a fascia bracket at the furthest point from the outlet.
3 Use a string line between the bracket and the outlet to determine a straight line (if fitting to a fall, 1:350 is recommended). Fix wooden blocks for fascia and union brackets at required intervals.
4 Fascia Brackets should be spaced at a maximum of 500mm apart on straight gutter runs. All brackets should be secured with one 25mm x 4mm (1” x 8) screw.
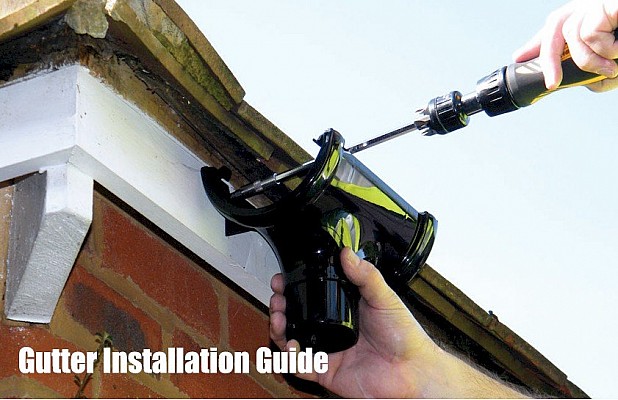
5 Unions should be fixed using a 25mm x 4mm (1” x 8) screw. Outlets and Angles should be fixed using one 25mm x 4mm (1” x 8) screw. Angles and Stopends should have a Fascia Bracket suitably spaced to support them. Lubricate all gutter seals.
6 Working from the Running Outlet insert the back edge of the gutter under the retaining clip. Using slight downward pressure on the gutter snap the front edge of the retaining clip over the front of the gutter. (Ensure that the marked expansion allowance is kept).
7 Use a Union Bracket or Angle to join to next gutter length in order to build up a gutter run. Use a Stopend to complete the run.
8 Downpipe installation starts at the outlet. If an offset is required use two Offset Bends with or without a short piece of pipe.
9 Support downpipes below offset and at maximum intervals of 1 metre.
10 A supporting Pipe Clip should be used on Shoes, Bends and Connectors, where necessary. Rainwater downpipe clips should be fixed using one 25mm x 4mm (1“ x 8) screw. Download “The Gutter Shed Installation Guide” View The Shed Gutter Pack View Mini Guttering


Leave your comment